Hey, everyone!
Today I'm going to show you how to make corn tortillas from scratch, and also convince you that the small amount of added effort is worth it many times over.
There is not a store-bought corn tortilla on the market that compares to the homemade version. Imagine the difference between Wonder Bread and a homemade sourdough loaf— that's the level of difference between a preservative-packed, store-bought corn tortilla and one made at home using good-quality masa harina. Your taco nights will never be the same, and you'll likely never go back to the industrial version ever again.
The process of making corn tortillas is a complex one. The technique is called nixtamalization, and it's been around since the Aztecs and Mayans first developed it. Field corn is briefly cooked and then soaked in an alkaline solution (either wood ash or limewater), which causes the outer shell of the corn to fall off, leaving the inner starch exposed. This shell is washed off, and then the corn is stone-ground into the dough known as masa. This process of nixtamalization is incredible– not only does it unlock nutrients and make the corn more easily digestible, it also allows the corn to come together into a dough that's impossible to achieve with something like cornmeal, which hasn't been nixtamalized.
Luckily for us, we don't have to go through the entire nixtamalization process to make corn tortillas at home. Once the corn has been turned into masa, it can be dehydrated and ground into a flour known as masa harina. This shelf-stable masa flour can then be easily re-hydrated at home.
The best masa harina on the market, hands down, comes from Masienda. I know because I used to work there, and I've seen the process all the way through. Masienda sources heirloom corn from small family farms in Mexico, nixtamalizes it into masa, and then creates beautiful yellow, white, red, and blue corn masa harina. I keep several bags of this stuff on deck at all times, and I highly recommend it over any of the other masa harina options out there.
One important thing to note here— there are no exact ratios that work every time. The process of making masa from masa harina is more about achieving a certain texture than anything else. The level of hydration required will differ between different brands and even different types of corn. I’ve included as many visual references as possible to help guide you. Generally speaking, if you’re using a measuring cup you can use about a 1-1 ratio of masa harina to warm water. An even better approach is to slowly add in the water bit by bit until you get the texture you want.
But don’t overthink it. This process is actually quite easy and you’ll get the hang of it soon. The biggest mistake I see beginners make is that their tortillas come out too dry. You want the dough to be very moist and pliable, but not sticky. That’s the sweet spot.
As always, if you have any questions feel free to shoot me a message!
Myles
Ingredients
This will yield about 10-12 tortillas.
1.5 cups masa harina
warm water (~95°F)
salt
Process
Start by adding your masa harina to a bowl. Add a pinch of salt to the masa harina, and stir everything to combine.
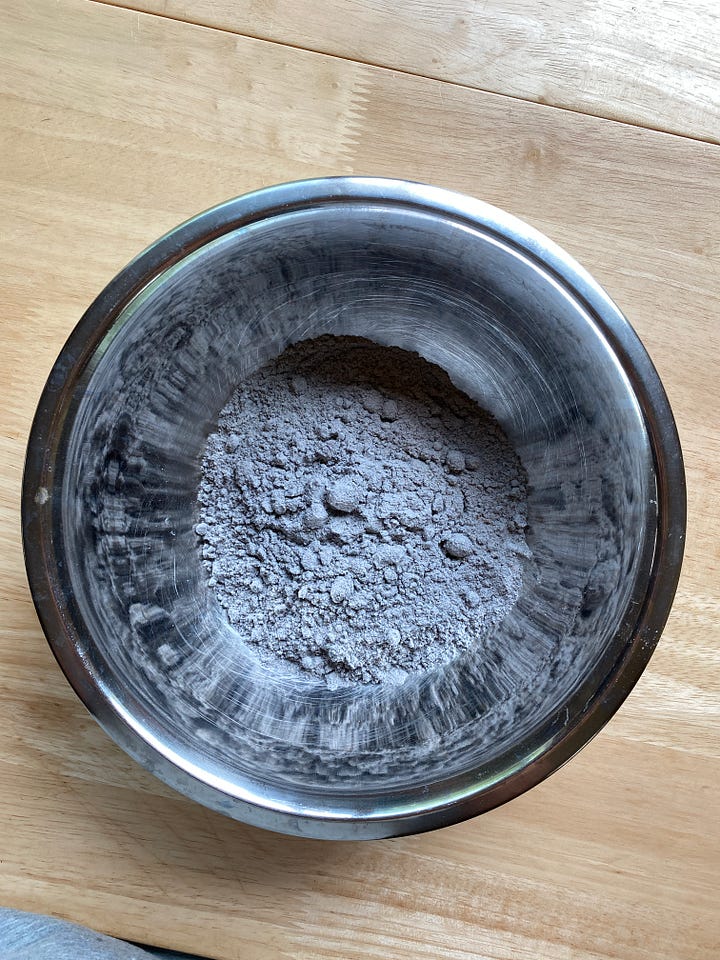
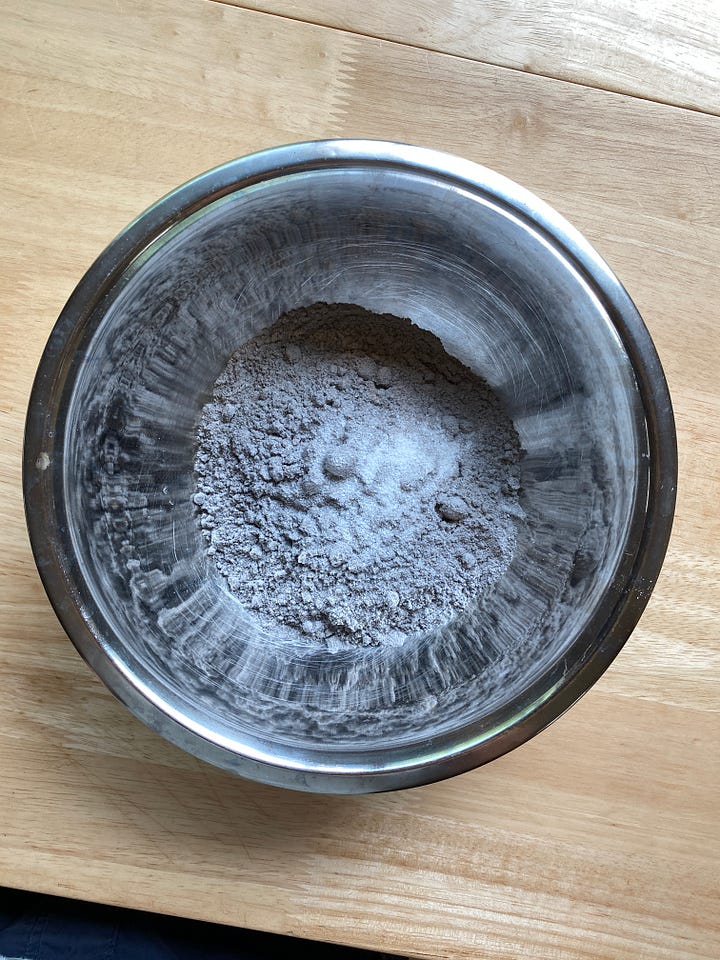
Slowly start adding warm water to the bowl, just a bit at a time. Use your hands to mix the masa flour and slowly incorporate the water.
If you do happen to over-hydrate (you'll notice because the masa will become too liquid and sticky), just add in a bit more masa harina and mix it in.
The goal is to get the masa flour fully hydrated to the point where it's smooth and pliable without being sticky.
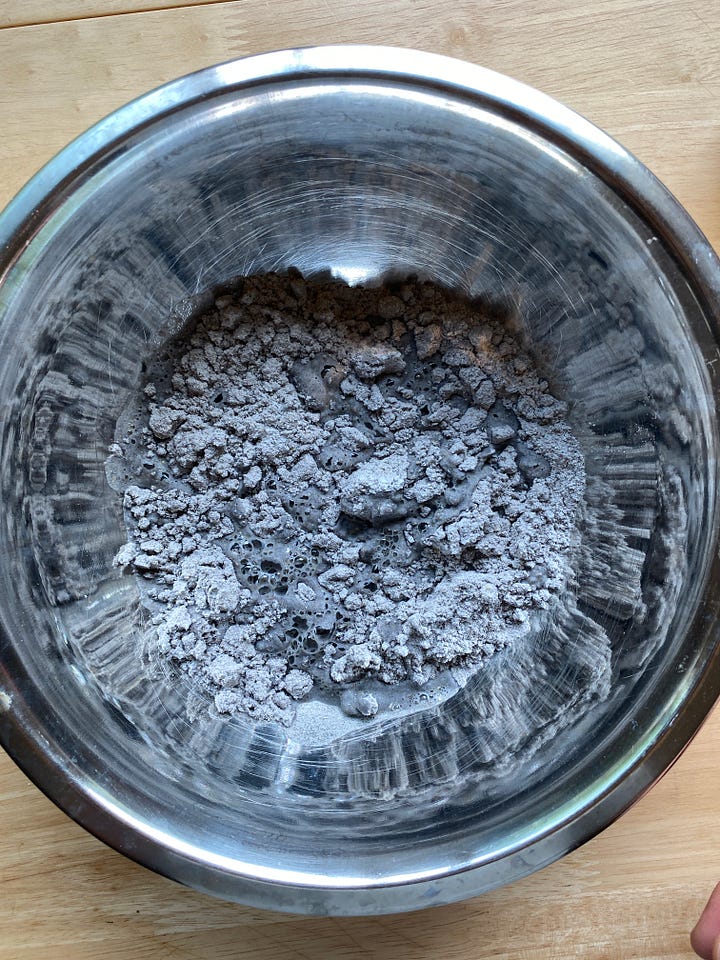


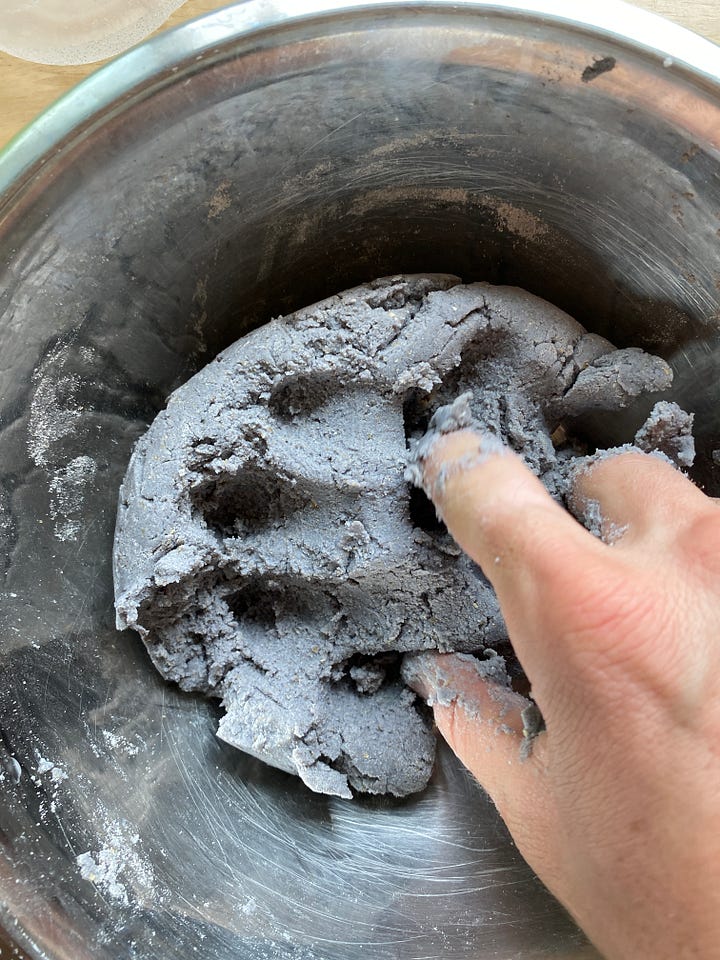
Eventually, you’ll have a smooth, well-incorporated dough. You should be able to form it in your hands like play-doh without it being sticky on your fingers.
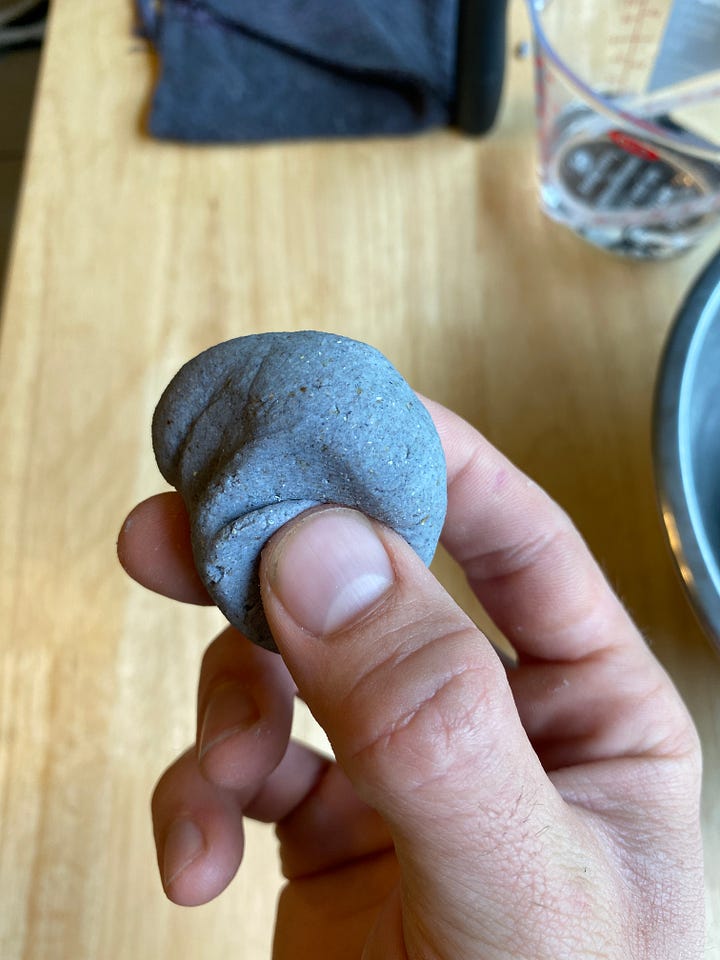
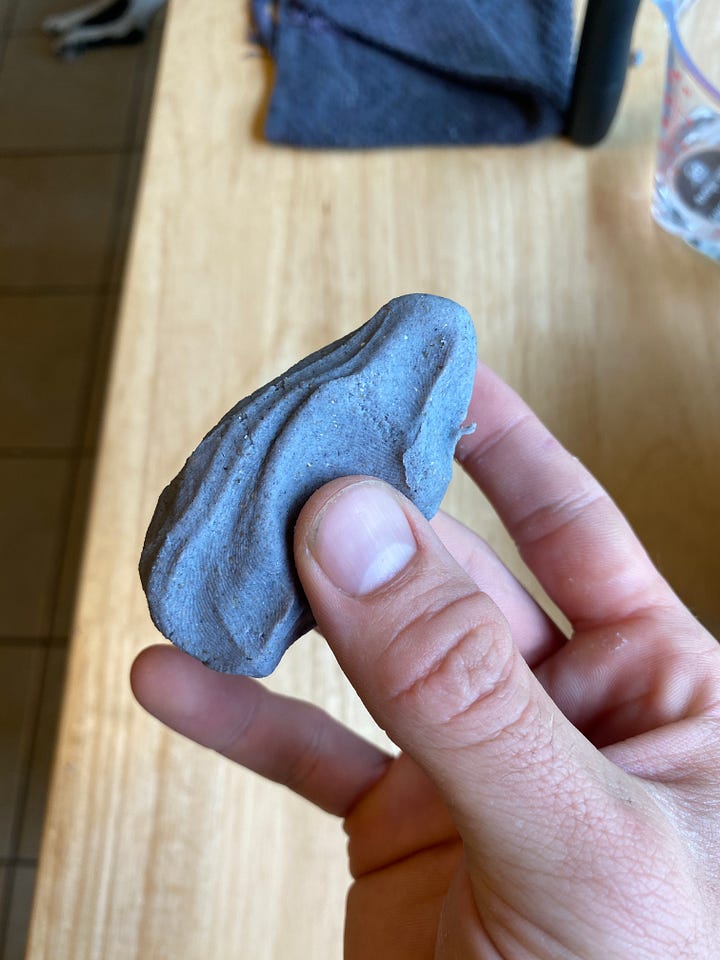
Now you’re ready to press out the tortillas.
You can use a tortilla press (worth buying if you plan to do this often) or the back of a flat pot or pan.
Cut a plastic bag so there’s a large sheet that can fold in half. Cut off the top of the bag and then cut the sides open so that you have two large sheets of plastic that fold over one another.


Take a chunk of the masa and roll it into a golf ball-sized ball.
If you're using a tortilla press, place the masa ball on the plastic on the press. Fold the other half of the plastic sheet over the masa ball to cover it, and then close the press and gently press down to flatten the masa.


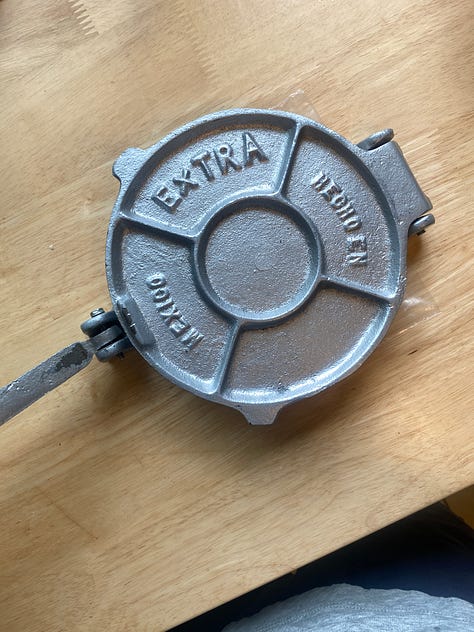


Peel the tortilla off the plastic sheet and you’re ready to go.

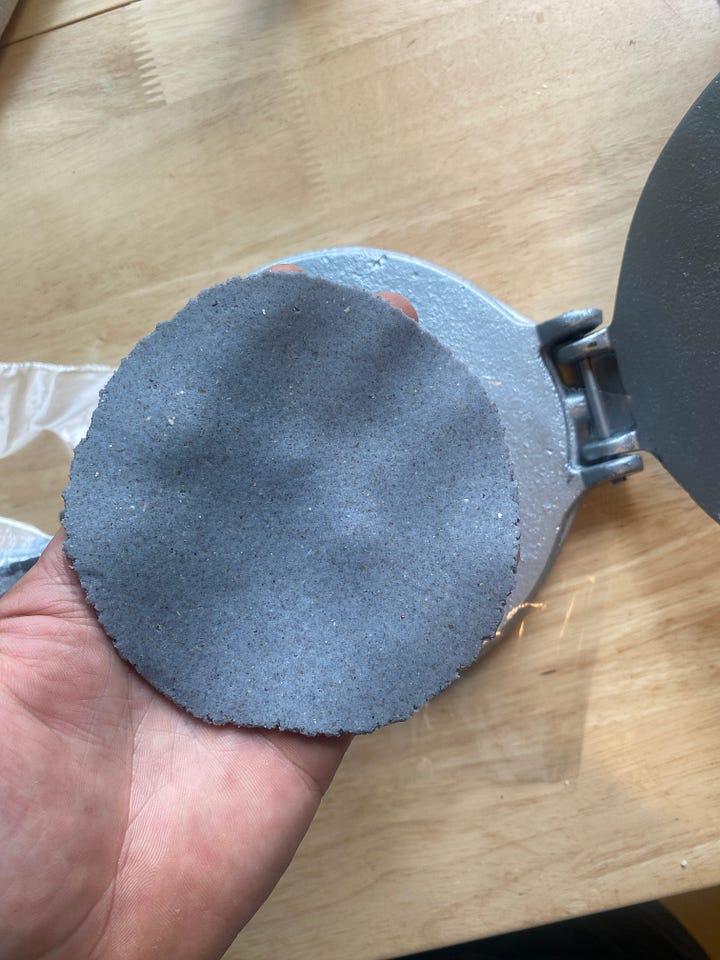
You can do the same thing with the flat half of the back of a pot or pan. Simply press down forcefully to flatten out the tortilla evenly.

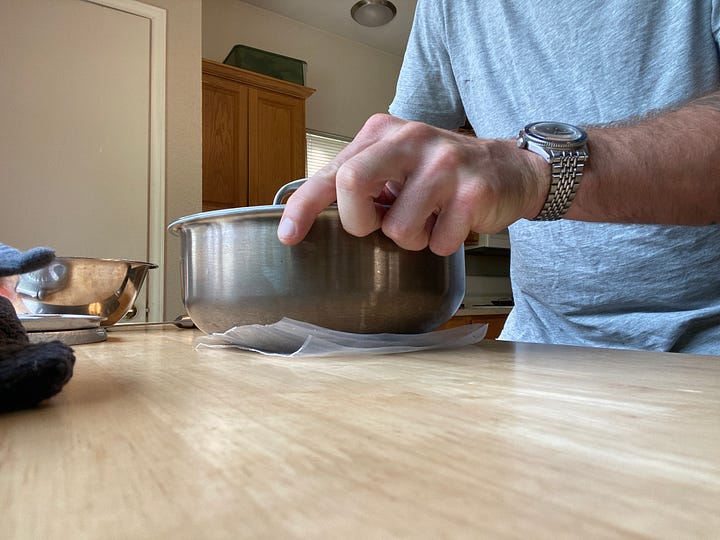
Heat a dry cast iron skillet over medium-high heat. You want it to be quite hot but not smoking.
Starting with one edge of the tortilla, lay it down on the skillet and slowly move your hand away to allow it to lay flat. Don’t slap it down or you’ll create air pockets that will lead to uneven cooking.


Cook for about 30 seconds on the first side. The edges will start to dry out and it should move easily—that’s when you flip.
Cook another 30-60 seconds, then flip again. On the second flip, it might puff up. That tells you it’s ready. If it doesn't puff, just pull it off after 20 seconds or so.


Place your tortillas in a tortilla warmer, or wrap them in a clean kitchen towel. This will keep them warm as you finish cooking them all and will allow them to slightly “steam” and soften up before serving. Finish cooking the rest and serve ASAP. These are best enjoyed hot.
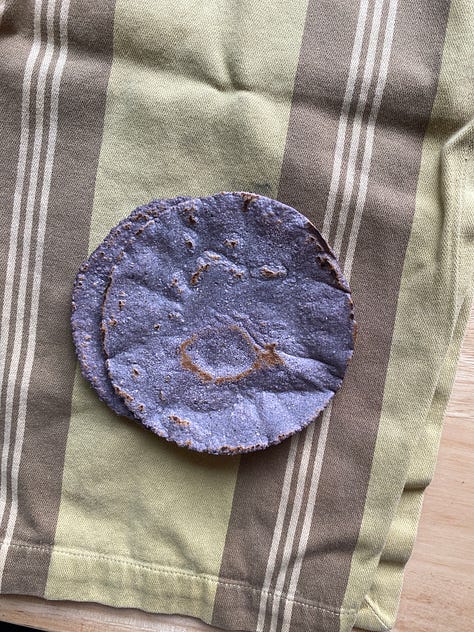


Note: If you do want to re-heat them, do so with a tiny bit of oil in the pan, which will soften them up.
Enjoy!


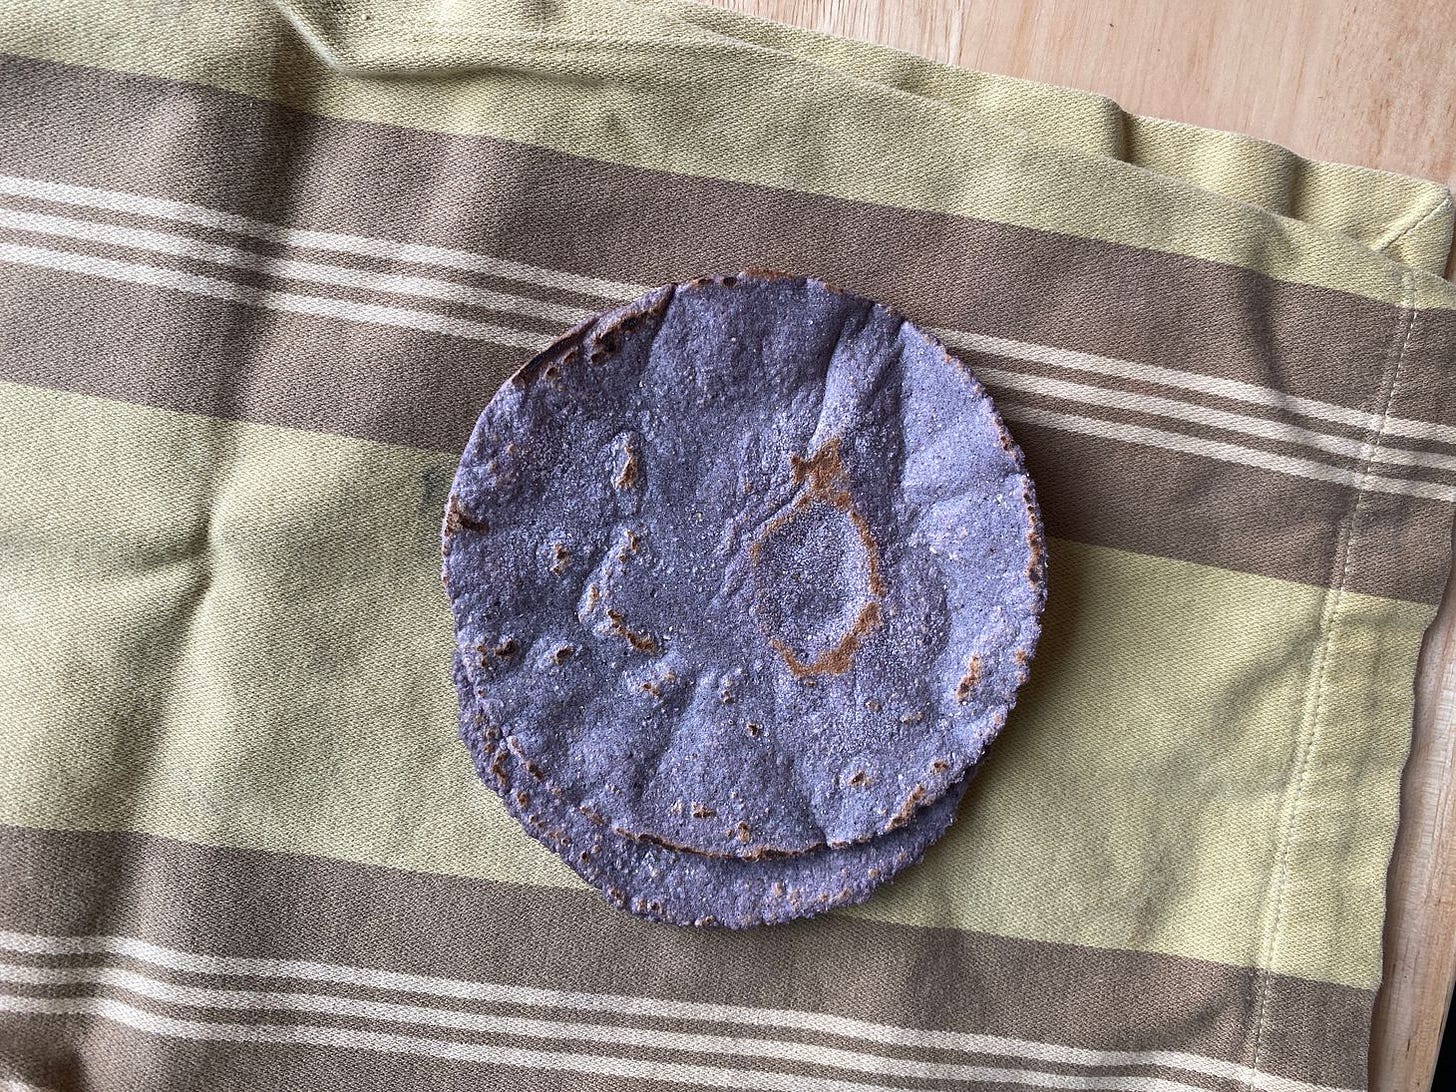
Not only does Masienda sell the best masa, they also sell the best tortilla press. Their version is a bit pricey. But it works and looks so much better than the standard model you'll find on Amazon (and pictured in the post).
They also started offering plastic liners to replace the cut-open Ziploc bag. Yeah, it's a bit frivolous. But they're cheap and really do hold up and stay in place better than a plastic bag or Saran wrap.
Also, great call on adding salt. Most recipes don't call for it, but it makes a huge difference.