
How To Braise
Plus a recipe for red wine braised short ribs.


In my 80/20 Cooking course, I talk about the importance of learning techniques and methods instead of just following recipes. Techniques are individual actions (think searing, boiling, deglazing, etc) that produce a specific result, whereas methods are broad combinations of ingredients and techniques that produce a specific dish but leave a lot of room for variation. Methods are adaptable— once you master a method, you can use it across a variety of different dishes— and they prioritize intuition, rather than following instructions. Methods more closely mimic how great cooks operate.
Braising falls firmly into the method category. It involves a combination of a few different techniques, but there’s nearly infinite room for variation within it. Once you learn how to do it, you can repeat this same method with different types of meat and different flavor profiles for a ton of variety. It’s one of my all-time favorites, and I think it’s something that every home cook should have in their repertoire.
Today I’m going to go over the basics of braising. I’ve also included a recipe for one of my recent favorites— braised short ribs with a red wine reduction sauce.
Enjoy!
The Formula
The core process of braising is simple:
Take any slow-cooking cut of meat (tough cuts are especially good here) and salt it. Even better if you can dry brine it overnight.
Sear the meat over high heat on all sides to develop a nice crust and browning on the outside.
Pull the meat from the pan and (if you’re using them), add onions, garlic, carrots, or other aromatics/flavorings and sauté for a few minutes.
Pour a braising liquid into the pan.
Tuck the meat back into the pan and make sure it’s 3/4 of the way covered with the braising liquid.
Put a lid on the pan and put it in the oven around 275°F.
Cook for several hours, and once it’s fall-apart tender, allow it to rest for an hour and then serve.
That’s it. As you can see, I didn’t mention any specific ingredients, measurements, or cook times. Even the temperatures used are somewhat flexible. That’s what makes this more of a method than a specific recipe. This same method works with a ton of different cuts of meat, different braising liquids, and different flavor profiles.
Some Additional Notes
To make a braise, you’ll need a pot or pan with an oven-safe lid. A Dutch oven works great here, as does a saucier (my personal favorite, especially for smaller braises). You can get creative, though. I’ve braised in sauté pans, stock pots, and sauce pots. In a pinch I’ve even used a regular skillet or a casserole dish and covered it with foil. The key is to have something that can hold the meat covered about 75% in liquid, and has a lid to prevent all the liquid from evaporating.
You only want to cover the meat 3/4 of the way with liquid. If you fully submerge it, you’re really just making a stew. By only covering it partically, you get the effects of the steaming and the roasting, which allows for better flavor development.
This works best with tough cuts of meat that benefit from the low-and-slow cooking process. Think short ribs, shanks, shoulder, chuck roast, oxtail, neck, stew meat, and bone-in chicken thighs. If you’re looking for an easy starting point, I’d highly suggest beef chuck roast.
A lot of the fun of braising comes from playing around with different braising liquids. Usually I’ll use bone broth or water as the base and add additional things to that. I’ve used broth, red wine, white wine, beer, Dashi, coconut milk, and a bunch more.
You can also experiment with different flavor profiles to add to the braising liquid— various aromatics, different spices, chile pastes, tomato paste, tomato sauce, soy sauce, mirin, miso…the list goes on. You can get really creative here.
Most cuts of red meat can braise in 3 hours or so, but you can let them go longer than that for additional tenderness. Chicken cooks much quicker.
A braise works best at a very very gentle simmer— just a few small bubbles slowly popping up. I usually find the sweet spot to be 275°F, but ovens differ. Check the braise as it’s cooking and adjust up or down as needed.
I’ve found that resting the braise after cooking makes a big difference with texture. It serves a similar function to resting a steak after cooking— in this case it allows the meat to really absorb the juices from the braising liquid. Usually I’ll just turn off the oven when the braise is finished and allow it to rest for an hour or so as it cools down. You can also leave it covered on the stovetop. Braises reheat really well and are often even better the next day.
Sometimes I’ll add aromatics to the pan (as I do in the recipe below), but oftentimes I’ll omit them, especially if I’m using a very flavorful braising liquid. Often when I’m making certain braises (like Mexican-inspired ones), I’ll first blend together onions, tomatoes, garlic, chiles, and bone broth, then just use that as the braising liquid.
If you’re new to braising, you can closely follow a recipe like the one below. But once you’ve gotten the hang of the general set of techniques, start experimenting on your own.
Braised Short Ribs with Red Wine Reduction Sauce
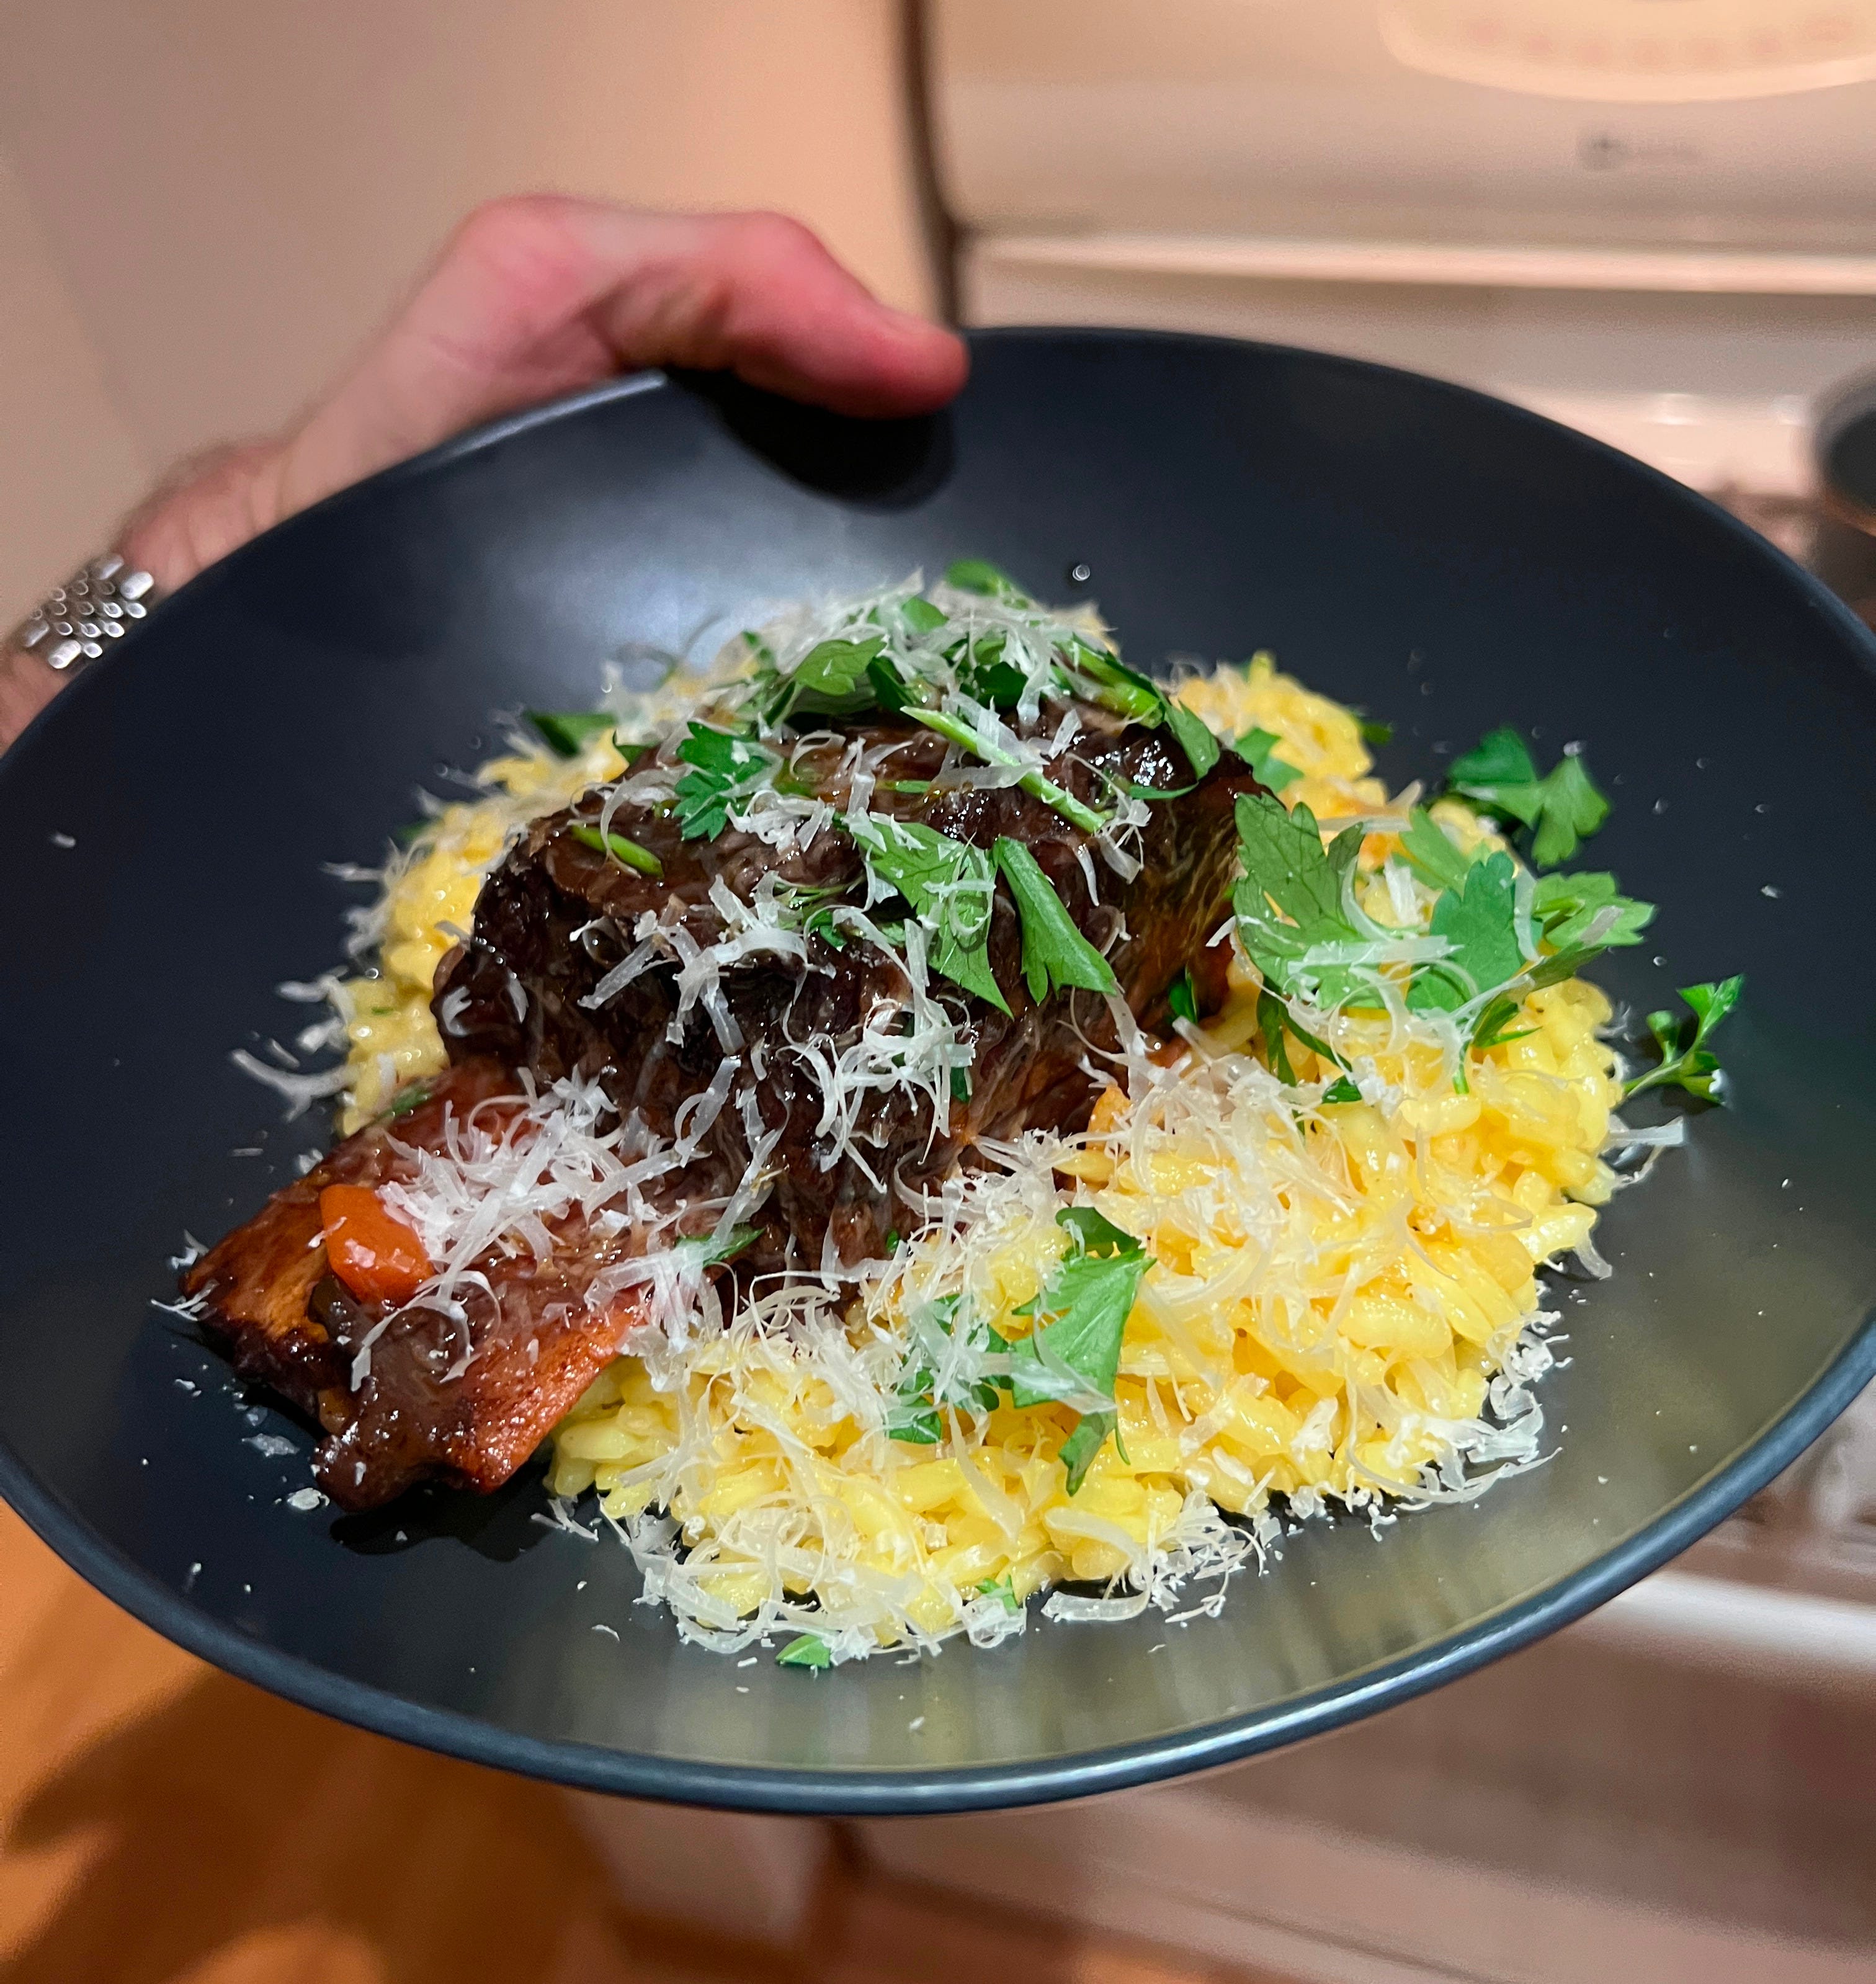
This is a braise riff that I’ve been making a bunch recently. It’s a classic combination of flavors— short ribs, red wine, tomato paste, beef broth. I like to reduce the braising liquid at the end into a concentrated sauce that can be drizzled over the short ribs.
You can use this all sorts of ways, but the flavors definitely lean Italian. I love serving this with saffron risotto, or tossing a pasta in the sauce with some of the braised short rib and finishing it with shaved Pecorino. Enjoy!
Ingredients
2 lbs beef short ribs
1 yellow onion, cut into a large dice
2 large carrots, peeled and diced
2 tbsp tomato paste
1/2 bottle dry red wine
1-2 cups beef bone broth
salt
black pepper
beef tallow or other high-heat oil
Process
If you can, start by dry brining the short ribs overnight. To do this, generously salt them on all sides and then place them uncovered on a wire rack-lined sheet tray in the fridge overnight.


When you’re ready to cook, pre-heat your oven to 275°F.
Use a heavy-bottomed pan with a lid that is oven safe. A Dutch oven works great here, as does a saucier or a saute pan.
Heat your pan over high heat and, once hot, add in a tbsp or so of beef tallow or another high-heat oil.
Sear the short ribs on all sides until they are well-browned all over (you may have to do this in batches). Set them aside on a plate or sheet tray.


Turn the heat down to medium.
If there’s not any fat left in the pan, add in a bit more. If there already is, just use what’s there.
Add in your onions and carrots and sauté for a few minutes. Season them with salt.
Once the onions are just starting to soften, add in 2 tbsp of tomato paste, and use a wooden spoon to distribute it throughout the vegetable mixture. Add a few twists of fresh-cracked black pepper, and allow the mixture to cook for a just a minute or so.


Pour in 1/2 bottle of red wine, and use a wooden spoon to help the liquid lift the bits of fond off the bottom of the pan.
Allow the red wine simmer for about 5 minutes until it’s slightly reduced.


Tuck the short ribs back into the pan, and then add enough bone broth to cover the short ribs three-quarters of the way with liquid. Season the mixture with a bit of salt, and give everything a stir.
If you have it, toss in a bay leaf at this point, as well.
Place a lid on your pan and put it into the oven to cook.


Allow the short ribs to cook for about 30 minutes, and then check on them.
You want the liquid to be at the gentlest simmer, just barely producing light bubbles. If the mixture is moving more than that, adjust your temperature.
I usually braise at 250-300°F, but different ovens perform differently, so you should check.
After 2.5-3 hours, check on the short ribs. They should be super tender and easily fall apart and off the bone when you touch them. They’re usually ready by then, but they can go as long as 6 hours or so.
Once they’re fall-apart tender, remove the pan from the oven and allow it to sit, covered, on the stove for an hour to an hour and a half. This step isn’t strictly necessary, but it does allow the meat to rest and reabsorb some of the braising liquid. When I do this, I notice a big difference. You can also simply turn off the oven and allow it to rest in there for an hour or so as the oven cools down.
Remove the short ribs from the pan and set them aside.


Pour the braising liquid through a fine mesh strainer into a bowl to filter out the onions and carrots.
Return the liquid to the braising pan and set it over medium heat. You want it at a simmer, but not too strong.
Allow it to reduce until it forms a nice thick glaze. This can take 10-15 minutes, depending on how much you need to reduce. Monitor it thoughout and adjust the heat as necessary. Once it’s well-reduced, taste and adjust as needed with salt.


Once the sauce is ready, spoon it over the short ribs and serve immediately.
Or, shred up some of the short ribs, toss that into the sauce, and then toss it with cooked pasta. I did this recently and it was great!
Enjoy!


If you liked this, I think you’ll like my 80/20 Cooking course. It’s an overview of the fundamentals of cooking, along with a bunch of recipes for practice. Use the code SUBSTACK at checkout for 20% off if you pick it up!
I have a lot of privately raised bison, which is incredibly lean. I am considering methods to cook it so it’s tender but don’t want to dry it out. Would braising be a mistake?
Myles- thanks for inspiring me to cook something new for dinner! I acquired a beautiful cut of wagyu chuck roast that I’m going to braise in a Mexican inspired braise sauce and serve on
tacos tonight. Wish me luck!